Read More http://www.kevinandamanda.com/whatsnew/tutorials/how-to-use-a-cute-font-for-your-blogger-post-titles.html#ixzz1KYebDXd9

Wednesday, May 18, 2011

I have recently added wedding invitations to my Etsy Shop!

I'm really excited about adding another Harley Boy Designs product! I have many more designs coming ~ Stay tuned!

As well as wedding invitations, I have thought about adding save the dates and baby announcements! We'll see how well they take off!!

In addition to adding more inventory, I've also added a facebook page! This way, people can stay up to date with new additions to the shop, and a way to stay in touch with those who are interested (and friends who are being very supportive!)

Speaking of supportive friends ~ Two friends on facebook were generous enough to spread the word of Harley Boy Designs to their friends. Several people 'liked' Harley Boy Designs!! Slowly spreading the word!!

Tuesday, April 19, 2011

It's been a while

So I feel that I haven't posted a blog in quite some time!

Bad Blogger!

OK - so what's new with me....Two weekends ago, Mike and I went to the coast to go fishing. Although we were only able to bring home one fish, we had plenty of action on the water!

Here's me reeling in a shark:


(I love the way the water and the sky run together in this picture! above)

Here's the shark:


It was a three foot bonnet head shark.

We also caught several trout (all were too small to keep), pin fish, catfish, and Spanish mackerel. The Spanish Mackerel is currently sitting in the freezer!

Overall, a great day!

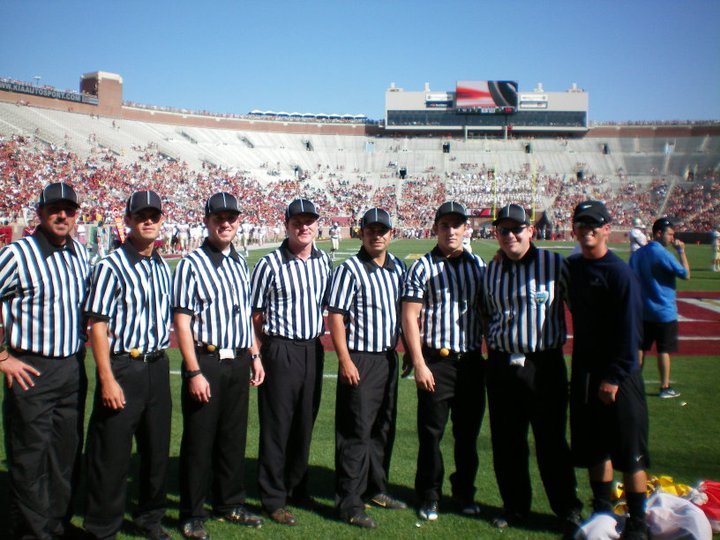
This past weekend, Mike got the opportunity to ref the 'half time flag football game' at FSU's spring time Garnet and Gold game!


During the coin toss:


The next day, Mike and I worked in the yard. Turning dead flower beds into beautiful flower beds (we'll see how long they last!)


This spot wasn't always a flower bed - in fact, a few months ago, there was a HUGE pine tree here! The tree has since come down, and the area was put to good use.

Besides all of the flower, we laid down grass plugs here, and flats of grass on the other side of the driveway (I'm sure you can imagine what grass looks like!)


In between work and playing on the weekends, I've made items for my Etsy shop - in fact, I've been working with several brides for custom pieces! Very excited about that.

What's next??
Letterpress wedding invitations
11 bags (similar to beach bags) for a friend
Another custom sign
and much more!

Thursday, March 31, 2011

Rant....

So I bought a frozen meal from Wal-Mart the other day (Great Value!). I was actually looking forward to this meal.


The picture on the package made me drool.

When I pored the package in the pan, there appeared to PLENTY of food - in fact, I was surprised by the amount of food.
.
.
.
.
.
.
.

But by the time the food was done cooking, it appeared that someone came by without me noticing and took half of it! What the hell!

Once everything was cooked, there wasn't enough food for two people.

I made Mike an egg salad sandwich!

Overall, don't buy this product with the thought that you will feed two people!

Tuesday, March 29, 2011

Homemade Enchiladas

Here is an Enchiladas recipe that a friend gave me - I think I may have changed it a bit.

It is so good! and because Mike and I are the only ones eating, this recipe can feed us two days!

Ingredients:
Chicken - 4 good size chicken breast
1 cup of salsa
8 oz of sour cream
Shredded cheese
Can of cream of chicken
Can of black beans
1 tlbs - Chili powder


Start by boiling your chicken

Shred your chicken. I use two forks and pull it apart - kinda like pulled pork. You could cut your chicken with a knife, but I like the fact that there are not chunks of chicken in the enchiladas.


In a large bowl, mix together your cream of chicken, chili powder, sour cream, and salsa.

Set aside in a smaller bowl two scoops of this mixture. You will use this to top off your enchiladas.


In the big bowl, add in your shredded chicken, black beans, and a big handful of shredded cheese.


Scoop out a large serving of the meat/sauce on a large size tortilla.


Roll up the tortillas and line them up in a Pyrex. I usually get 5 really good size enchiladas out of this size recipe. One of these is big enough to feed one person. If you have more people to feed, you can most certainly make them smaller.


Top these off with your sauce that you set aside.

Cook these at 350 for 30 mins.
Top them with shredded cheese and cook for another 5 mins.


Eat!

Sunday, March 20, 2011

Great Finds!

This weekend was full of great finds!

Here is an up close picture of the knobs that I added to the jewelry armoire - They were 2 for $4.99!


How cute are these plate mates?!?! I got 6 of them for $3.99 each!


Best find of the day????? This book case:


Can you guess how much (remember, it was from World Market)
.
.
.
.
.
.
.
.
$19.99!

Why you might ask (Cause I know I did!!!)
Here's why:
(inside view)


(outside view):

The damage can't be seen from the front, and I'm thinking I will put a basket on a shelf next to it, and the other side, against a wall - Problem solved!!

There are two more shelves (they are laying on the floor). They are adjustable - just need to find pegs to hold them in place.

Even with those two flaws, $19.99 is a great deal!!!

Now.. where to put it....... (see, I bought this large piece of furniture without having a home for it!) No worries, I'll find a spot in the house!

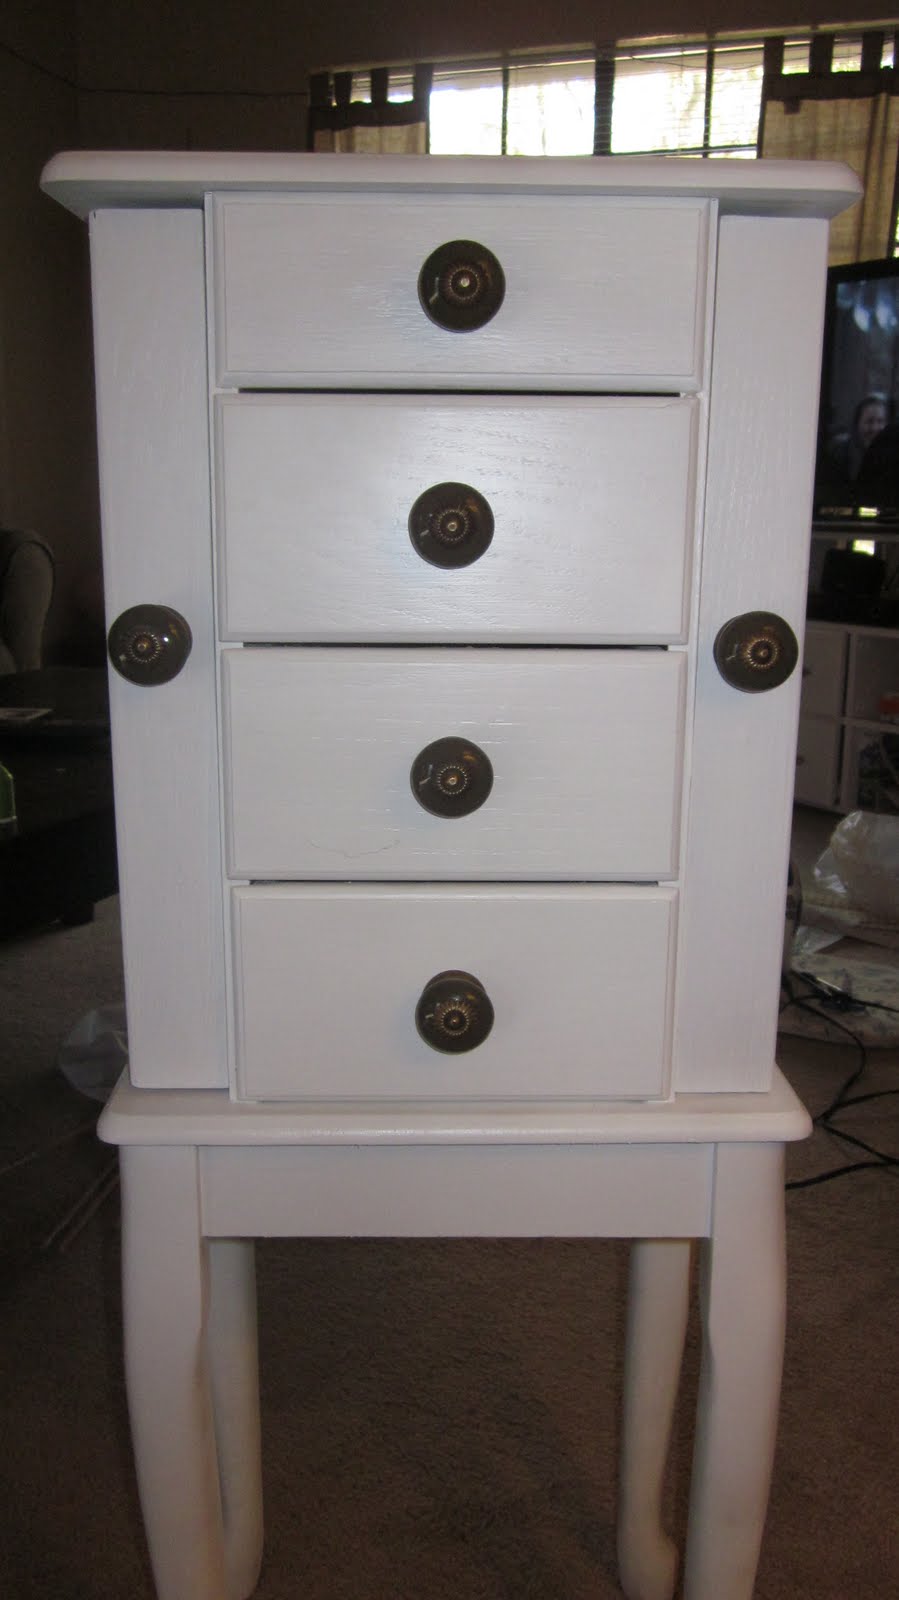
Jewelry Armoire Makeover!

I found this jewelry armoire on Craigslist any only paid $35.00 for it! What a steal!!! I wasn't crazy about the finish, the hardware, or the pink velvet in each drawer.

On one of the legs, there was a spot where the stain wasn't applied property.

Notice the pink velvet - Gross! In fact, it smelled...... bad.


Parts were even damaged.


More gross velvet....


Inside was a penny, hair, and one earring (didn't get a picture of the earring, but I'm sure you could image it).


The sides open so you can hang necklaces.

The first step was to remove all the hardware, rip out the velvet, fill in the holes from the hardware, and then sand everything down.

Before you paint, be sure to wipe down the wood to remove any dust.

I'm not sure what paint I used, but I know it was a white, interior paint primer. I ended up painting three coats. (the picture below is only after 1 coat)


Inside each drawer, I lined it with fabric.

Here's how:

Put a line of hot glue at one seam.


Press the fabric to the seam (be sure to allow enough fabric to cover the edges).
Cut the corner.
(Please ignore my fingers which are covered in paint!)


Fold the fabric so it lays nicely in the corner.

Then fold the edge so it lays even with the edge of the wood.

Apply a bead of glue right at the edge.

Continue folding and applying hot glue until you have the hole covered with fabric.


Put the hardware back on!


Each drawer was lined with a different fabric.


After the paint completely dried, I used a semi-gloss spray paint to give it a solid finish - with no brush strokes.

The knobs were purchased at World Market.

Tuesday, March 15, 2011

Mustaches are funny!

If you remember back to the wedding, I made mustaches for the bridesmaids - something to just make me laugh!

Well I came across a tutorial on a mustache for your straw - love it!!


Click here for the tutorial!