Read More http://www.kevinandamanda.com/whatsnew/tutorials/how-to-use-a-cute-font-for-your-blogger-post-titles.html#ixzz1KYebDXd9

Wednesday, December 22, 2010

Etsy Shop Name

I need your help!!!!

For a long time now, I have wanted to open my own store, and I think it is smart to start online - Not as many expenses - and not as risky as opening up a physical store. For that reason, I've decided to open an Etsy Shop. If you are not familiar with Etsy, you can visit them here.

I'm a crafter. When I find something cute, instead of saying "I wanna buy that" and I say "How can I make that?!?" I research the items/product and read lots of 'how-to' or reviews on products to make something. That is what my 'soon-to-be' store will have.

What to sell.........

I know the economy isn't the best, and when people don't have a lot of extra money to spend, random craft purchases are cut out first! If you don't need it, then you won't buy it.

BUT - I have come up with a theory - Weddings and baby stuff - people are going to purchase these things regardless. Also, babies are naturally the next step after having a wedding. Why not sell/make both items???

Now that my wedding is over, and the holidays are almost over, I want to jump in head first!!

Here are some things that I want to make/sell:


Screen printed baby outfit
(even screen printed shirts for bachelorette party, Bride/Groom shirts)
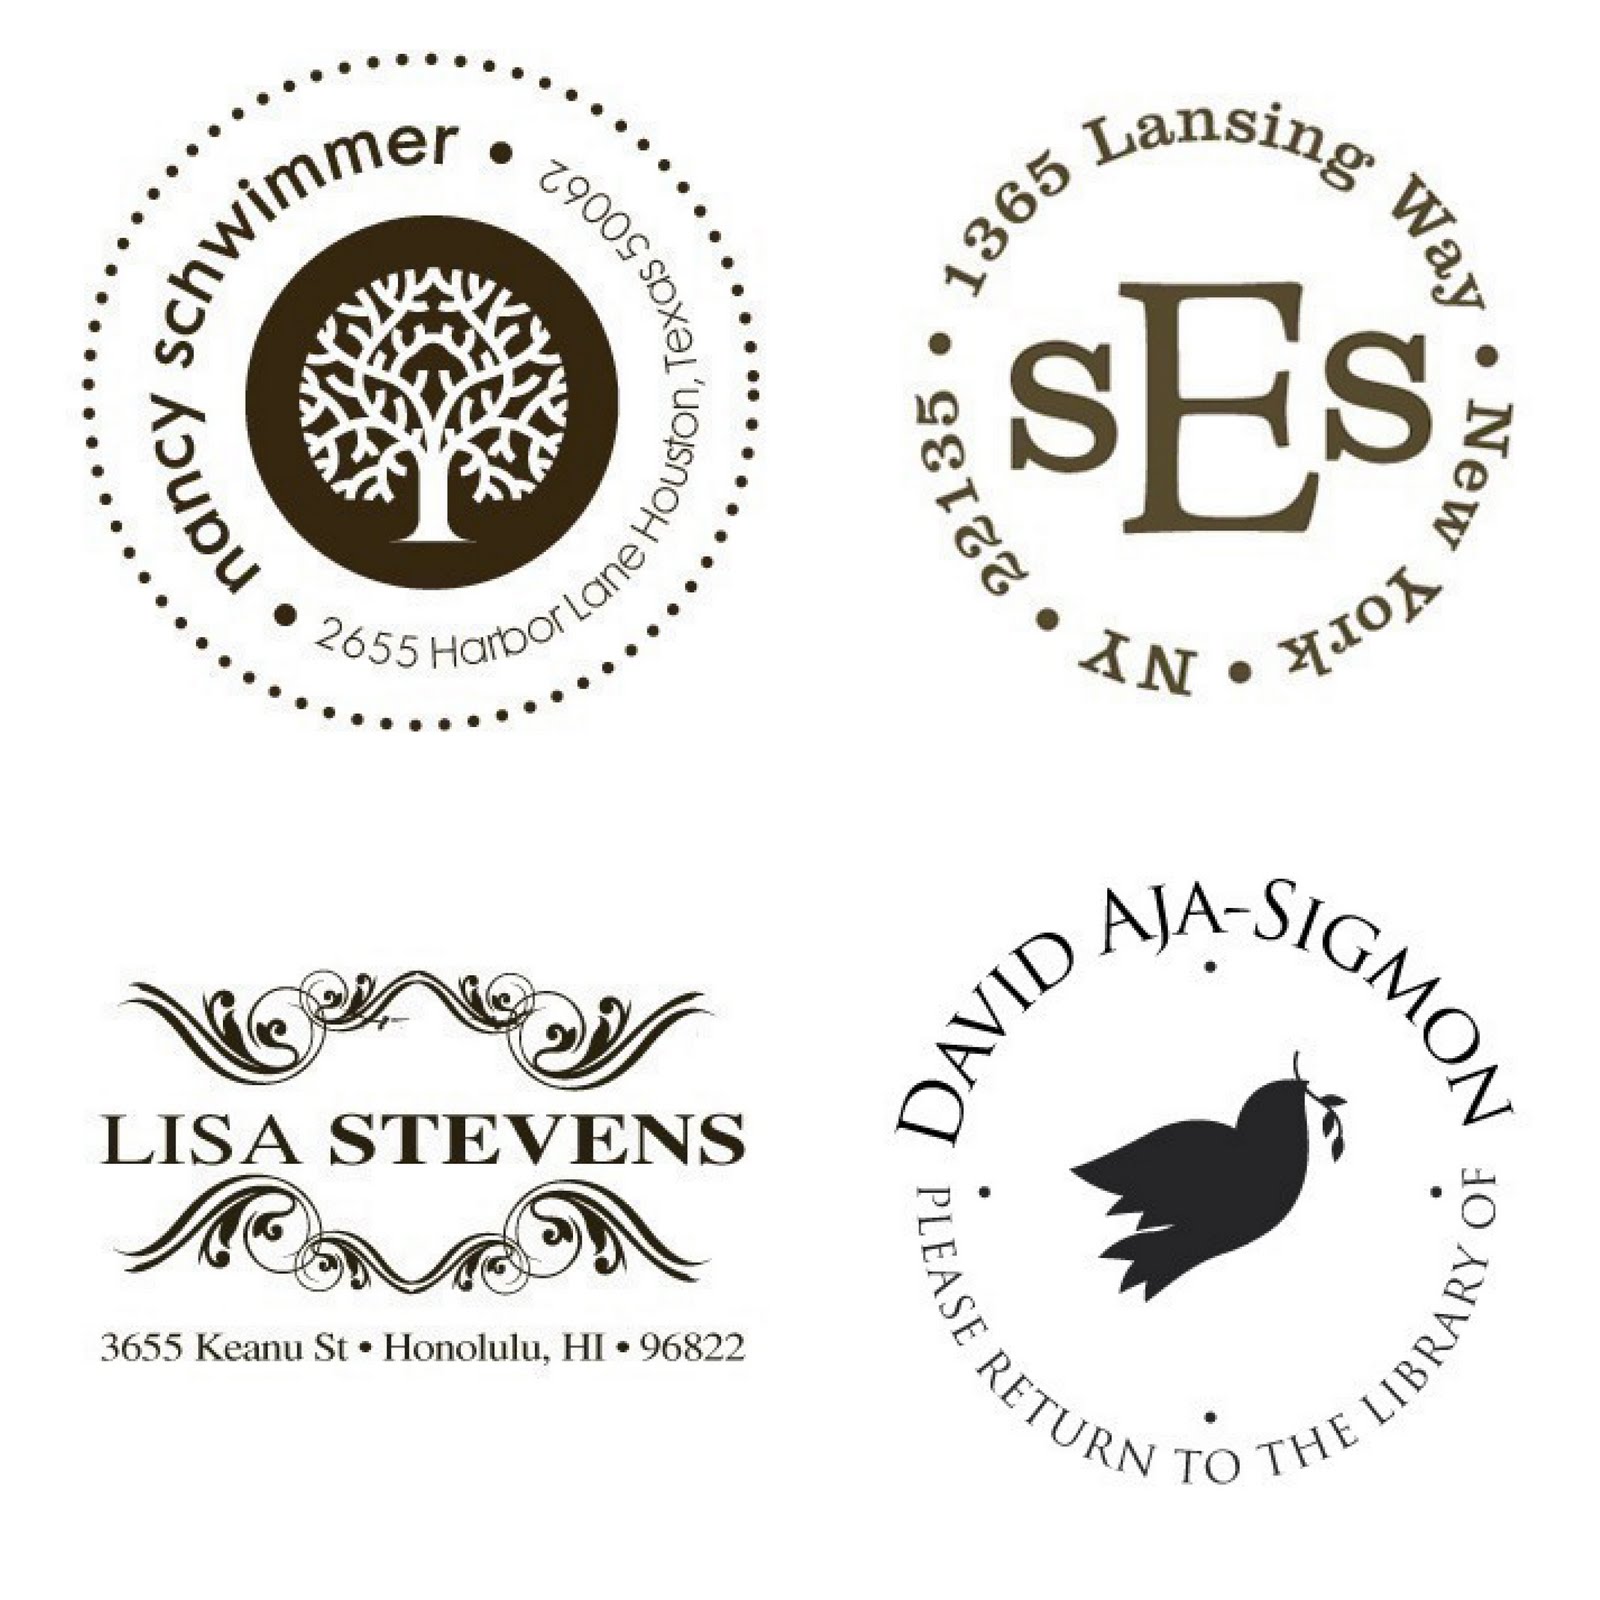
Personalized rubber stampsPersonalized wedding items
Baby hats with ears (so cute!)
and much more!!!

My problem: I am horrible at coming up with names... even in school - I hated thinking of a 'team' name for a game!

This is where I need your help!!! Any name suggestions would be wonderful!! I like the idea of 'wedding, then baby' concept, but I'm open to any ideas!!! Even if it's a totally random name, (but still cute!)

Thanks in advance for your help!
Ashley

Christmas!


I know this is a bad quality picture, but it will have to work! Even though today is only December 22nd, it's my Christmas! My family is coming over to the house, I'm making a yummy dinner, and we're exchanging gifts!

This week, I actually work a half day on Thursday (12/23), and off from work on Friday (12/24). Mike, unfortunately, has to work on Christmas eve, but as soon as he gets off work, we are headed to south Florida to see his family - and have Christmas all over again!!! That vacation will be wonderful - since we are not coming back until 2011! I'm very much looking forward to a long break from work!

Today, I'm picking up several wedding pictures from the photo shop - and I have to quickly put them into frames and wrap them since they are Christmas gifts for the parents/grandparents! The disk with all of the wedding pictures are being delivered, so very soon, I will post more!

I hope everyone has a Merry Christmas!!

Monday, December 6, 2010

Christmas is here..... well kinda.

Christmas 2010


Yesterday, while Mike worked in the yard, I worked in the house - putting up the Christmas Tree! This is the first year that our Christmas tree has had ALL of our ornaments up! That's right, even though this is our 7th Christmas together, we have never had a tree with all of our ornaments on it. If you remember from last year, we had a battle of Christmas Trees!


We each had a tree that we decorated our own way, and we had friends and family judge which tree was the best.

The winner?? Me - because someone decided to cheat!!! Automatic disqualification!


I hope everyone has a wonderful Holiday!

Thursday, December 2, 2010

Fried Green Tomatoes

One of my favorite movies is 'Fried Green Tomatoes'.


Today, I came across this website. It's the actual cafe from the movie! It's located in North Georgia - northeast of Atlanta. Sounds like a road trip is needed!!! Not only would I love to see the place, but I'm sure the food would be great!!

FSU Dominates UF!

I was born in Tallahassee, FL... and with that being said, I was born to dislike the Florida Gators. We are huge rivals! I will NEVER wear the colors orange and blue together - even if art class taught me these are complementary colors!

This past weekend, Mike and I attend our first FSU vs UF football game! We had a blast!! We ran into several friends, ate lots of chili, and drank plenty of beer!

oh yeah - and we WON!!!


Victory!!!!


Because Maryland beat NC State, FSU is going to the championship!! We play Saturday in North Carolina against Virgina Tech.

GO NOLES!!!!!

Sunday, November 28, 2010

The other day, I played around with a new video program on my computer. Here's a little something that I threw together!

Monday, November 22, 2010


The picture above is the horrible, outdated, tacky floral wallpaper that is in our dinning room/kitchen. You have to understand that I live in a rental home - if this were my home that was purchased, the wall paper would have been removed day 1! In fact, I would have tore out the whole kitchen (you'll see why in just a minute).

I have lived with this wall paper for the past 3 years, and to be completely honest, I often forget that it is there. I know - that is hard to believe. It almost makes you sick to look at it!!

This weekend, I got a wild hair to paint the wall. I know my landlord most likely will be mad that I painted - probably isn't allowed - but could you blame me????!!!

Here is the final result with the furniture put back into place.


I decided to continue into the kitchen which had plain white walls. What a tiny, horrible kitchen! So outdated!


I have to admit - It looks a little bit better with the paint - but still NOT my dream kitchen!

Tuesday, November 9, 2010

Turkey

I came across this recipe last year and really wanted to try it... but I didn't... and then I forgot all about it. But Thanksgiving is right around the corner, and the recipe came across my computer once again!

Look how easy it is to cook a turkey! (not that I've ever cooked one before, so I don't know how hard it is to cook... but I can only imagine it's hard!) : )

Your ingredients are simple:
  • 1 (18 -20 lb) whole turkey
  • 2 stalks of celery (roughly chopped)
  • 1 carrot (roughly chopped)
  • 1 onion (cut into quarters)
  • 3 -4 crushed garlic cloves
  • olive oil
Directions:

  • Take everything out of the turkey. There will be a giblet bag and some other stuff.

  • Chop the onion into quarters.

  • Chop a nice long carrot.

  • Do the same with a couple stalks of celery
    • Put all of the veggies in the turkey.
  • Add several cloves of garlic that you mash between a kitchen knife and the kitchen counter.

  • Throw it all inside the turkey.

  • Then rub the turkey all over with olive oil.

  • Put the turkey in a roasting pan and cover it with a large brown paper bag.

  • Staple shut. If you have a huge turkey use two paper bags at each end. It wont stick to the bird because of the olive oil.

  • Sprinkle the bag all over with water.

  • Place into pre-heated 375 F oven. ON THE MIDDLE RACK.

  • The bag wont burn because paper burns at 451 and we're at 375 degrees.

  • The advantage of the brown paper bag over the Reynolds cooking bag is that the paper breathes so the turkey ROASTS. In the Reynolds bag the turkey STEAMS, giving it a different taste.

  • Roast for 13-15 minutes per pound.

  • When you think it's ready, shove a meat thermometer through the bag and into the turkey and give it a minute to register. Make sure it doesn't touch the bone.

  • The thermometer should register between 163-170 degrees.

  • Remove from oven, cut away the bag and remove the basting pan.

  • Here's what you should get when all is done:


    How good does this look?!?

    Monday, November 8, 2010

    Better Late Than Never!

    Because the wedding was in October, Halloween did not get as much attention as it should have. I found this really great design earlier in the year and just held on to it until a free weekend!

    Martha Stewart has the cutest ideas! Check out the with and cats: http://www.marthastewart.com/how-to/witch-and-cat-lawn-ornaments

    Here is the stencil for the witch:
    http://images.marthastewart.com/images/content/web/pdfs/pdf1/1005_witch.pdf

    Long story short, we ended up with an extra piece of plywood in the garage that really needed to get used and free up some space. So I decided to tackle the witch and cats this past weekend! (sure, they will sit in the closet until next year, but I'll be ready for Halloween 2011!)

    First, you print out the stencil (see above for the link). Tape them together. Each paper has a mark in each corner to line everything up right.


    Once the whole witch (or cats) are taped together, cut out the shape.

    When you are ready to cut, the website says to use a spray adhesive and stick it on the wood - you would then cut around the stencil. I just traced out the witch and cats, then threw the stencil away.

    After you cut the wood, attach a metal pipe on the back (for the witch, have 12 inches hanging over the bottom). When I tried to put her in the ground, the pipe moved up her back instead of down in the dirt - so I hammered the end to create a 'point'. The pole went in the ground much better!


    The last step is to paint her black!

    Ladies and Gentlemen, meet Helga! See ya next year Helga!


    Tuesday, November 2, 2010

    New TV Stand


    Over the weekend, I made a TV Stand - That's right... I cut out the wood, made my own pocket holes, put it together, and painted it!

    I got the idea from This website/plan, but I had to tweak it just a bit. The original design was a little too big for our living room.

    I'm very happy with the final product!

    Monday, November 1, 2010

    Done and Done!


    The wedding and honeymoon is over! What a great two weeks - full of family, friends, and good times!

    Here are a few pictures of the honeymoon - Royal Carribean's private island - Cococay. Trust me- there are more pictures to come!

    Enjoy!


    Thursday, October 14, 2010

    Countdown

    9 Days left... Really!!!! Mike and I have been together for seven years, and in 9 days, we will finally make it official! It's hard to believe that it's really happening!

    Pretty much all of the wedding details are done. This weekend, I'll be going to the FSU football game (which is probably the last thing I should be doing the weekend before the wedding!)


    But look how gorgeous that stadium is???!! How can you say no?!?

    Sunday will be jam packed with cleaning the house, any last minute wedding details, and getting ready for the cruise. Is it too soon to pack for the cruise?!?! I think not!

    Next week will be so much fun - all of our loved ones will be coming into town and hanging out at the house... which means it will be a zoo!!!! 7 people sleeping at the house with 4 animals. PLUS groomsmen and bridesmaid hanging out. O my!

    In two weeks, I'll be here - the Bahamas! Cannot wait! Only things I will be worrying about will be: Where is my drink with the umbrella, Where is the casino on the boat, and where is my hammock on the beach?!?

    Friday, September 17, 2010

    yum.....

    You HAVE to check out this recipe:

    http://kaylasmalltownlife.blogspot.com/2010/09/loaded-baked-potato-soup.html

    How easy is this recipe for loaded backed potato soup!!! I'm thinking it would be REALLY good in a crock pot while tailgating for football games!!!

    Thursday, September 16, 2010

    Wedding Arch

    Today, I visited my florist for the wedding. We are renting an arch from her, and I really wanted to see it up and to figure out how I was going to decorate it. To my surprise, the arch was bigger than I expected! It's a wopping 6 feet across, and 9 feet tall (at the point). wow!!

    How to decorate it...... First, we thought maybe we can hang an old window from it.. Wasn't loving that idea. Then the florist suggested a chandelier. LOVE IT! A while back, I thought of using a chandelier, but didn't think it would work because I assumed the arch wouldn't be tall enough. Then she pulled out this beauty:


    I came up with the idea of adding the old, used candles. Each one is at different heights.. and I love that!


    The arch will be decorated with grape vine and some greenery.
    Glad to have that off the wedding list!

    Monday, September 13, 2010

    Head Table Decorations

    Do you remember this post about the head table decoration that I was going to make?? Well yesterday, I made it!

    Here are a few pictures that show how I made it.

    I found the pattern from http://www.weddingchicks.com/freebies/custom-goodies/. They have lots of designs that they will make custom for you! I made the design poster size on Microsoft Publisher and printed it out on several pieces of paper. Then I laid the papers out and taped them together.

    Next, I started cutting out the design. I have seen a few tutorials on how to make a head table monogram, but everyone used white material, so it was easy to lay the fabric over the design and trace. Burlap isn't a material that can be seen through.... so I had to come up with a different plan!

    As I started cutting out the design, it got very flimsy. I stopped half way through to keep part of it sturdy.


    I then used tape to hold down the patter and traced around it with a black pen.


    After the design was traced out, I went back with black craft paint and a small paint brush and filled in the design. This took a while....!


    Here's the final product!


    I took the burlap to the sewing machine and sewed the edges to have a cleaner look. Here's what it looks like hanging from a table (sorry - this is a bad picture that was taken with the camera phone).


    I love the final product! It will look so good!!

    Tuesday, September 7, 2010

    Wedding and more wedding......

    Wedding invites are out and each day, we get a few RSVP's in the mail. So far, 50 have said yes!


    This past weekend, Mike and I went down south to visit his parents. Mike's mom, sister, and I got several wedding things done! One included making this cute yellow banner that will hang in the back ground of the reception building.


    (Ignore the wrinkles - it's been sitting in a bag!)

    The next step is to add letters to each 'flag'. There are a total of 2 banners. They will read "Congratulations" "Ashley & Mike".

    If you look in the background of the picture above, you can see the road signs that I made earlier this year. Because the location of the wedding is way out of town, down a long, curvy road, I felt it was necessary to have directional signs.

    Also in the background, you can see how my 'craft room' is being flooded with wedding decorations!

    Half of the wedding favors were completed. (I tried to upload a picture.... It didn't work)

    We also visited Pottery Barn - love that store! I have been looking for a metal wire bird cage to put cards in at the wedding. Here's the closest thing I could find.


    It's made for a very large candle - I plan on lining it with burlap (which will match the runners on the table). The only part that will be 'open' will be the top. Cards will easily slide in!

    Lastly, I plan on painting a monogram on a piece of burlap which will sit on the head table. Below is a large print out of what the image will look like. The 'C' in the middle will be painted black as well as the design.


    Lots of things to still do!!! and only 1 month, 16 days left... Oh my!!

    Monday, August 30, 2010

    Friday morning, bright and early, Mike and I went to the oral surgeon. It was time for my wisdom teeth to be removed. Not Fun.

    Friday, I was pretty out of it. I slept most of the day - who am I kidding. I slept most of the weekend! Mostly because the pain medicine didn't sit well with me. Because it makes me want to vomit, I've stopped taking it!

    Today was my first day back at work. Pain... pain.... Can't wait for this to be over!

    On other news, the wedding invitations are out, and actually, I've received a few RSVP's back!

    In regards to work - I'm done. I'm tired of my job, and mostly tired of the complaints and problems that constantly need to be fixed. After the wedding is over, I'm going to search for a new job. That scares me. We'll see what happens.

    I want to open up my own shop - start small - online. I was going to try to google shopping cart, but it appears a bit more difficult than I originally thought. I'm now leaning towards my Etsy shop. I opened one a while back, but really didn't do anything with it. It's currently sitting there...... empty.

    The question now is what to sell??? I'm all over the place - wedding stuff, nick knacks, etc. Once the wedding is over, I should have more time to dedicate to me!

    Tuesday, August 24, 2010

    I know it's been a while since my last post - with work being so crazy, the time just hasn't been there!!

    Things to report:

    We have officially hit the 2 month mark till the wedding (as of yesterday)! Where did the time go??!?!! I'm so glad that I started several projects a while ago. If I hadn't, I'm sure the stress level of planning a wedding would be much greater!!

    All the Boutonnieres were done! Then my dog ate one.

    The wedding invitations are done and will be mailed out tomorrow!

    The DJ has been hired! We just have to meet sometime this month (which is almost over!) to nail down certain songs.... which we haven't chosen yet!

    The catering menu is complete! Which the mix of southern food with sea food, I was drooling at our 'meeting' with the catering team.

    The wedding favors (which ended up being chosen on a whim) have been purchased, and will be put together really soon!

    My wedding dress is currently getting altered. I forgot that my dress had a small train. Having a train was something I didn't want.... but I have one now, and have to live with it! Next month, I go back for the fitting.

    Non-wedding related: My wisdom teeth are getting removed this Friday. I know I will be in total agony this weekend, but I'm most excited about sleeping ALL day Friday, and hopefully Saturday. I need some time to do nothing!

    That's all to report for now. Be back soon!

    Thursday, July 22, 2010

    Wedding and more wedding.......

    This past weekend, I took advantage of my slow weekend to get a few projects done.

    One of which was the boutonnieres for all the men. They have burlap 'leaves' in the back with a few feathers, a loop of ribbon, and a fishing lure. The picture doesn't do them justice!


    I also made the bridesmaid gifts! I can't post a picture seeing how they see this blog!

    List of things to still do:

    Finalize the catering menu (Already on the books!)
    Get shoes dyed
    Get dress altered
    Pick music
    etc...
    etc..
    etc.

    Much more to do!!

    Wedding Shoes!


    I decided that for the wedding ceremony, I wanted really cute yellow high heels. Easier said than done! After searching online and in stores and still not coming up with cute bright shoes, I have decided that I will buy white ones and have them dyed bright yellow. I'm talking lemon yellow! Just a few days ago, the shoes came in the mail!!


    I am very happy with them!

    Friday, July 2, 2010

    P90X Update

    Tuesday was our first day doing a P90X workout which was the arm and back track. It included a lot of push ups, pull ups, and weights! Good work out! Mike and I both agreed that although they are tough work outs, they only last about 45 mins (not including stretching) and the time seems to go by fast. We were so pose to do the ab ripper X (which is only 15 mins) right after the arm and back track, but the tv show 'Deadliest Catch' was coming on and if you watch that show, you know it was a good episode! ha ha!! So we skipped the Abs.

    Wednesday, Mike had a good-bye dinner for a co-worker and the boss's house. By the time we left, it was around 8:30. Instead of doing a full workout, we decided to do the ab ripper X that we missed the previous night. The video is only 15 mins, but don't let that fool you! It's 15 mins non stop!

    Thursday after work, I went to the gym and did a weight class. (to back up a little, Wednesday, my left arm hurt, but I assumed it was just normal 'work out pain' and didn't think much of it). Well after the gym, I realized that my arm wasn't hurting due to normal work out pain. I believe I pulled a muscle. My arm was very sore (I couldn't straighten it) and was very swollen. Because of my arm, I didn't want to work it any more than I had to. For Thursday's P90X workout, we did the Plyometrics video which is all jumping, moving, high knees, ets. Lots of Cardio! the video was almost an hour and it was intense! Mike and I couldn't keep up with the pros, but we did our best and felt very good about it.

    This weekend, we will be traveling out of town, which we will take a break from the work out.... We'll be back on the horse Monday when we return!

    Have a good 4th of July!! See you when I return!

    Tuesday, June 29, 2010

    New Changes, New Body??

    Yesterday, Mike and I kicked off the P90X with a fitness test. Not to bore you will all the results, here are a few of mine:

    Vertical - 14 inches
    Push up (on the toes) - 25
    Bicep Curls - 20 @ 10 lbs in each hand
    Total amount of calories needed for this program each day - 2,196!

    I went to the store last night and bought 'good food'. Last night, we splurged on McDonald's one last time... good bye fries....

    I also cooked breakfast and lunch last night! (I was up late). After looking at the 'menu' P90X suggested, Mike and I have come up with a way to 'tweak' it. We refuse to throw away any food that we have already bought just because it is not on 'the menu'. We will incorporate it in moderation. I have cut out all soda (not that I drank very much) and all coffee. Mike can't cut out the soda cold turkey, so he has cut back to one a day (and for anyone who knows him, he is a soda hound!)

    Today breakfast was a mushroom omelet with a side of fresh strawberries. The omelet called for 6 egg whites, 3/4 cup of mushrooms sliced, 2 tablespoons of green onions, salt and pepper to taste, 1 1/2 oz of cheese, and tomatoes. For those who really know me, I'm not a tomato kind of person so I left that out. I also really don't care for mushrooms, so I cut them into small pieces.

    My feeling on the breakfast - no good! I was starving this morning, and I think that is the only reason I forced myself to eat it!! ha ha. I also got a call from Mike saying, "I appreciate you staying up and cooking for me, but it was not good at all!" ha ha!!! I guess we'll be crossing that off the menu!

    The program also calls for a protein bar between breakfast and lunch. Because I have never eaten protein bars, I bought a few different brands/flavors to test them out. Today I'm trying Odwalla's chewy nut bar - Sweet & Salty Almond. I've been warned that protein bars are not very good tasting, so we'll see!
    For lunch, we are having a salad with strawberries, slices of turkey and ham, with a balsamic vinaigrette dressing. I don't see how you can go wrong with that!

    Tonight is the first work out DVD.

    Also, tonight, I'm meeting with another florist for the wedding. Let's hope this meeting goes well and I can cross that off the wedding To Do List!

    Monday, June 28, 2010

    P90X


    Today is the official start to the P90X program. Mike and I agreed to do this together in preparation for the wedding (less than four months left!)

    We are going to take pictures of day 1, day 30, day 60, and day 90. I'm not going to post pictures until I have a before and after. Who would want to see just a before picture??!!

    Today, we will complete a fit test to see where we are starting from. I'll be sure to post those results. My plan is to keep the blog updated on our progress - hopefully that will also keep me motivated for the full 90 days. I've heard from several that this program is not to be taken lightly, and I'm actually really excited about that.

    There is also a nutrition plan that comes with the program. I've reviewed the materials and they give you a meal plan that is easy to follow with recipes. The hard part for me will be getting the food and preparing it every night for the next day. I went ahead and bought a 'lunch bag' so that I can pack my lunch for work each night.

    I'm excited for the next 90 days - lets just hope it doesn't kill me!!

    Wedding Favors

    The results are in!!!

    When asked last week what your opinion was on wedding favors, here's what you said:

    It is a must - 0
    I could go either way... - 7
    I never take one with me when I leave - 6

    Looks like wedding favors may get cut off the list!!

    Thank you to everyone (all 13) who voted!

    Wednesday, June 23, 2010

    Wedding Favors.

    Are wedding favors a must??

    While planning for the wedding, I have tried to come up with a wedding favor idea, and I'm stuck. Do people really care?? Wedding favors aren't cheap! Some advice was to have wedding favors for each couple, but how do you control that? Create a sign that says 'One per couple'??

    I have decided to have a poll and get reader's opinions.


    I'll wait until Friday for the final results! Thanks in advance for helping out!

    Tuesday, June 15, 2010

    Peg Board

    A while back I had blogged about my craft room and wanting to make it so much better!!

    I made a peg board that holds my crafts - that way, they don't take up space on my workstation!

    Here are the parts that I used:
    Peg Board (Home Depot cut this for me to the size that I needed)
    Trim (again, Home Depot cut these)
    Spray Paint
    Screws (I forgot to take a picture, but I'm sure you know what they look like!)
    Hooks for the peg board
    **One of the packs of 'pegs' that I purchased had several different types of hooks. It even included screws and spacers to hang the board - see below for more info on spacers**

    Originally, I was going to cut the corners at angles like a picture frame. Well lets say it worked better in my mind than in real life! I don't have all the proper tools, and I was trying to make a circular saw work.... and as you can see - it didn't!

    That's when I came up with Plan B!

    After a quick trip to Home Depot again, I purchased these wood blocks that are used for decorations. I think they cost me $1.50 for each one. Not bad at all!

    **Note that the trim pieces are not screwed in yet. They were just cut to size**

    Before spray painting, be sure to lightly sand the peg board! I found out that if you don't, the paint can easily scratch off. I set up a station outside for the spray painting. I chose this wonderful sea green color. Love it!

    I spray painted two coats.After the paint dried, I placed the board upside down on two sawhorses. I clamped the trim pieces up to the edge, then screwed them to the board. Then, I did the same thing for the corner pieces.

    Tada! Final product!! Now time to hang....

    Here are those spacers that I mentioned. These came in the packet of hooks. The black spacer goes behind the peg board. I screwed the board to the wall with these behind it. It gives the board just enough room to put your pegs in without hitting the wall.

    **The next few pictures were taken with my camera phone... It made the pictures a yellow color. Sorry***

    Can you see all that stuff that was sitting on my work station!!!


    Everything is up! Looks so good! The picture doesn't do it justice!